Lily’s Quick Start: How Publishing Works
A short introduction to the editor, the publishing flow, and optional custom elements. This is how AI Girlfriends work
This is the short version of how a finished draft becomes a page on our website. You can keep researching and writing wherever you already work.
This page is enough before our first session. The two other Team guides are optional references if you want more detail.
1. Pages CMS is the website editor
Pages CMS is a simple editor for the website. Think of it as a stripped-down Google Docs made for publishing pages: you paste in a draft, add details such as the title, author, date, and images, then press Save.
It is more basic than Google Docs and does not show the finished page inside the editor. Its job is to keep the content organized and move it into the website.
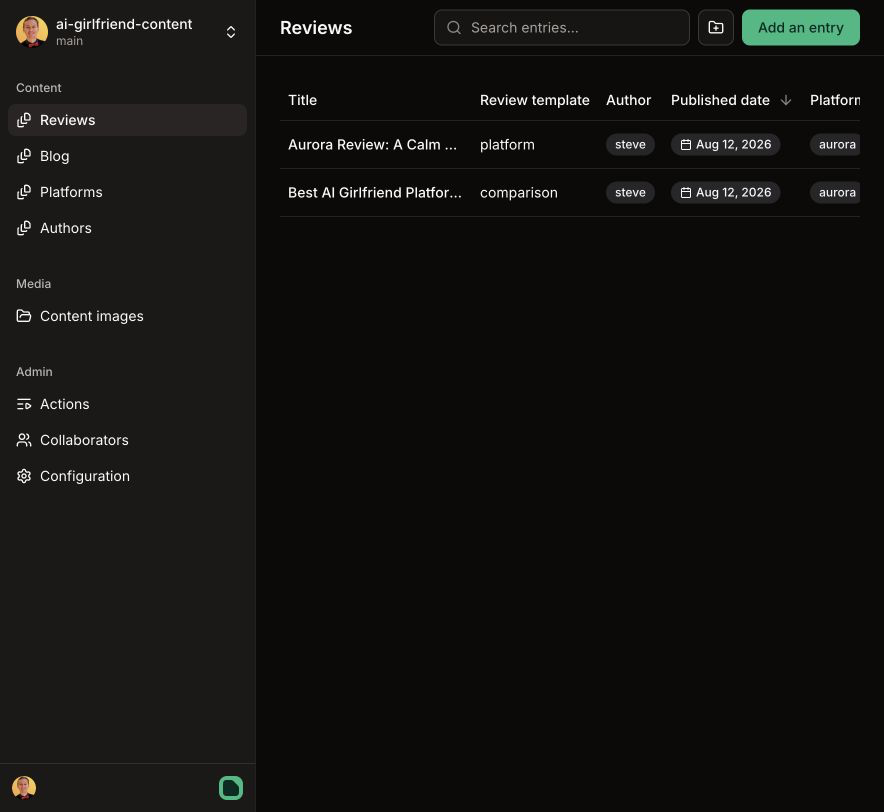
Choose Reviews or Blog, search for an existing page, or use Add an entry.
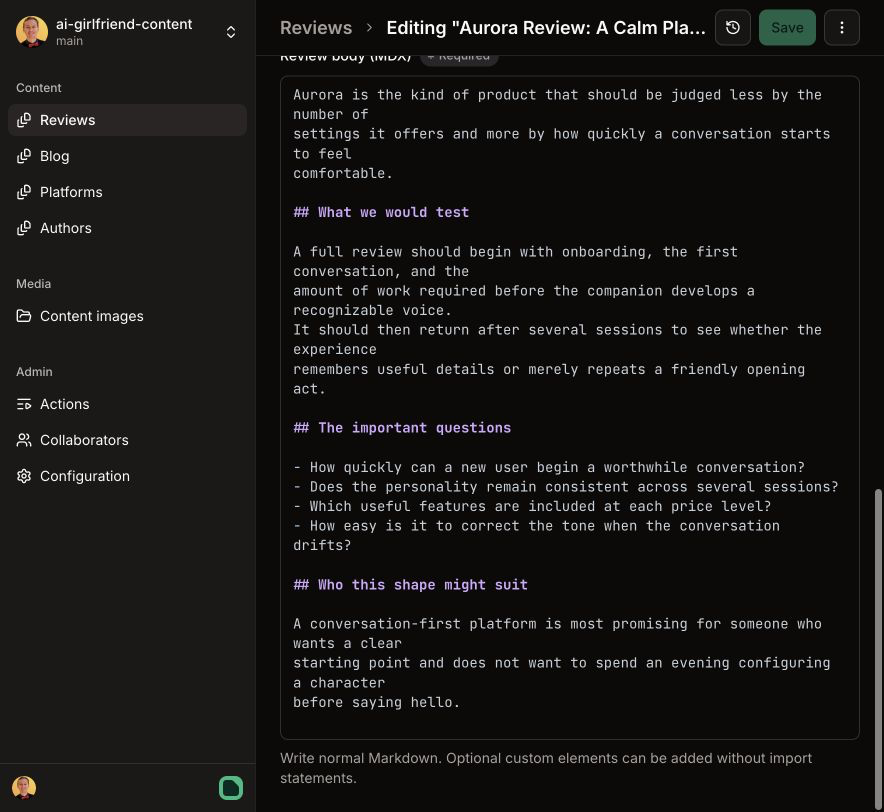
The large body field holds the article. This is where you paste and edit the text.
Your normal loop is:
- Open Reviews or Blog.
- Open a page, or choose Add an entry.
- Paste the draft and complete the page details.
- Press Save, then open the real page and check it.
2. What happens when you press Save
What happens when you press Save
- Pages CMSYou edit the content and press Save.
- Saved copyGitHub keeps the page and its change history.
- Website buildCreates a fresh version automatically.
- Live websiteThe new version replaces the current one.
Later: one safer extra step
Save will create a private preview first. You and Olof can check it, then use a separate Publish action to move that version to the live website.
Behind the editor, GitHub keeps the shared copy of every page and its change history. You do not need to open GitHub or learn how it works. After a save, the website automatically creates a fresh version and puts it online after a short wait.
Later, we plan to add a separate preview and publish step. Saving will first create a private test version. After we have checked it, we can deliberately promote that version to the live website.
3. Custom elements give us flexibility
Most pages can stay simple: text, headings, links, and images. When the content needs something more visual, we can add a reusable element such as a rating, comparison, calculator, or pros-and-cons box.
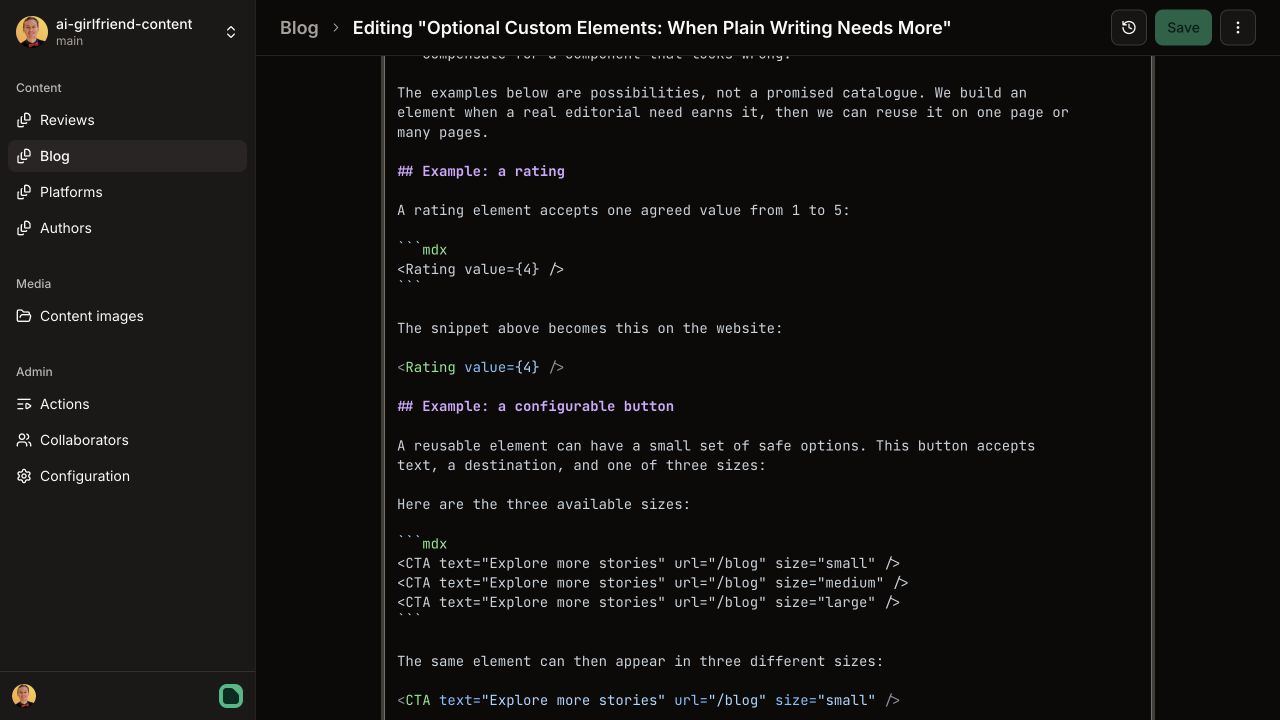
The editor shows a short instruction. The finished website turns it into the designed element.
For example, this line in the editor:
<Rating value={4} />becomes this on the website:
An element can also hold more information:
The pros
- Important information becomes easier to scan
- The element can appear exactly where it helps the story
The cons
- A new element needs to be designed once before it can be reused
The table of contents beside this guide is also a reusable website component, but you do not paste it into the article. It appears automatically from your section headings.
When you need something new, a short description, sketch, or reference page is enough. Olof will build it and tell you which parts you can change. If it looks wrong on the finished page, send him the page link and he can fix it centrally.
4. We will try the first page together
In our first session, we will add one small Blog page, save it, and inspect the finished result together. Anything that feels confusing becomes part of the improvement list.
If you want to explore further beforehand: