Your Pages CMS Workflow: From Finished Draft to Live Page
A practical walkthrough for moving an externally written draft into Pages CMS, enriching it, saving it, and checking the website.
You can keep writing in the tool you already prefer. Pages CMS does not need to be the place where the first draft happens. Think of it as the place where a finished draft becomes a complete website page.
One normal publishing loop
Write elsewhere. Finish in the CMS. Check the website.
- 1Prepare the draft
Use the writing tool you already like.
- 2Choose a library
Review, Blog, Platform, or Author.
- 3Add the page details
Title, description, dates, links, and images.
- 4Paste the body
Normal Markdown, plus an optional agreed element.
- 5Save
The current setup immediately starts a website build.
- 6Open the real page
Check the headline, layout, links, images, and mobile view.
1. Choose or create the right entry
Open the relevant library. Existing entries can be searched and edited. Use Add an entry when you are creating something new.
- Choose Reviews when the reader is evaluating one or more platforms.
- Choose Blog for guides, experiences, analysis, alternatives, or opinions.
- Open Platforms when a shared platform record needs to be added or updated.
- Authors will change much less often.
2. Complete the structured page details
The fields above the body tell the website how to organize and display the content. They are also what make the library searchable and reusable.
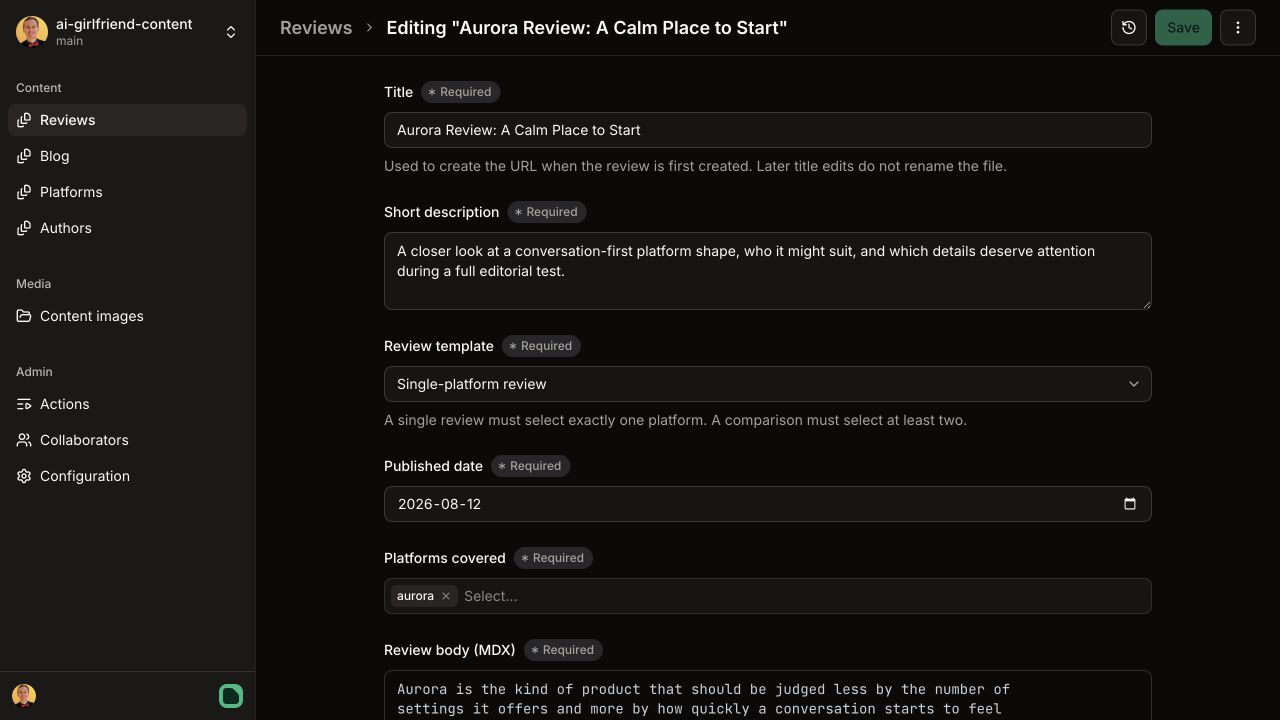
For a review, pay particular attention to:
- Review template: single-platform review or multi-platform comparison.
- Platforms covered: exactly one for a single review, at least two for a comparison.
For a blog post, add the title, description, published date, body, and any related blog posts. Reading time and updated date will return later when the website can calculate them automatically.
The title creates the initial page filename and URL. Editing the title later does not automatically rename that URL. This protects existing links.
3. Paste and format the body
The large body field accepts the website’s text format. Normal paragraphs can be pasted as plain text. Headings, lists, links, and emphasis use a few simple Markdown markers.
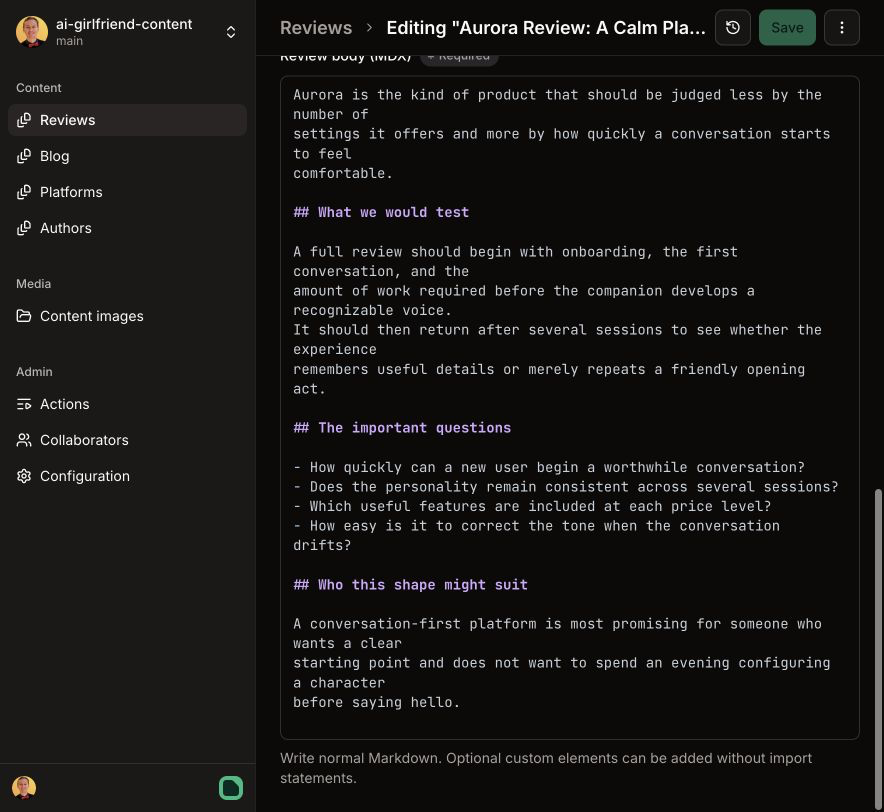
The field can also accept optional custom-element snippets. For normal writing, you can ignore that detail and use the field like a simple text editor.
4. Add images
Use Content images in the left sidebar to upload reusable image files. Every image still needs useful alternative text describing what matters in it.
The media area exists, but our first complete upload-and-insert workflow still needs a hands-on test. For the first image-heavy article, work through it with Olof so we can make the canonical process clear instead of guessing.
5. Save and inspect the real page
Save starts the current GitHub and Vercel build automatically. There is no rendered article preview inside Pages CMS, so the actual website is the visual source of truth.
- For a review, open the Reviews page and follow the new headline.
- For a blog post, open the Blog page and follow the new headline.
- For these internal pages, open the Team guides in Blog.
Check:
- the title and description;
- heading hierarchy and paragraph spacing;
- links and any related blog posts;
- image order, captions, and alternative text;
- custom elements;
- a narrow browser or phone view when layout matters.
If the content is correct but the design is awkward, send Olof the page link and explain what feels wrong. He should repair the template or reusable element.
What the current CMS workflow does not do
- It does not show the finished website page inside the editor.
- It does not save a separate draft before updating the review site.
- Rename and delete are deliberately disabled while URLs are being stabilized.
- It does not ask Lily to manage Git branches, commits, or deployment settings.
Those are system boundaries, not editorial tasks. Ask Olof when one of them gets in the way rather than inventing a workaround inside the article.